-1.png?width=200&height=51&name=LM_NuBlu_Horiz_Hi%20(1)-1.png)
Once your telematics hardware has been installed you need to establish a connection in Mission Control. This will allow the telematics information to be displayed on the vehicle's profile page.
Note: Once this connection has been set up in Mission Control the telemetry information won't be immediately available. The vehicle will need to be take on a short test drive in order for the hardware to ping the system and communicate with Mission Control.
Adding a Vehicle Broker
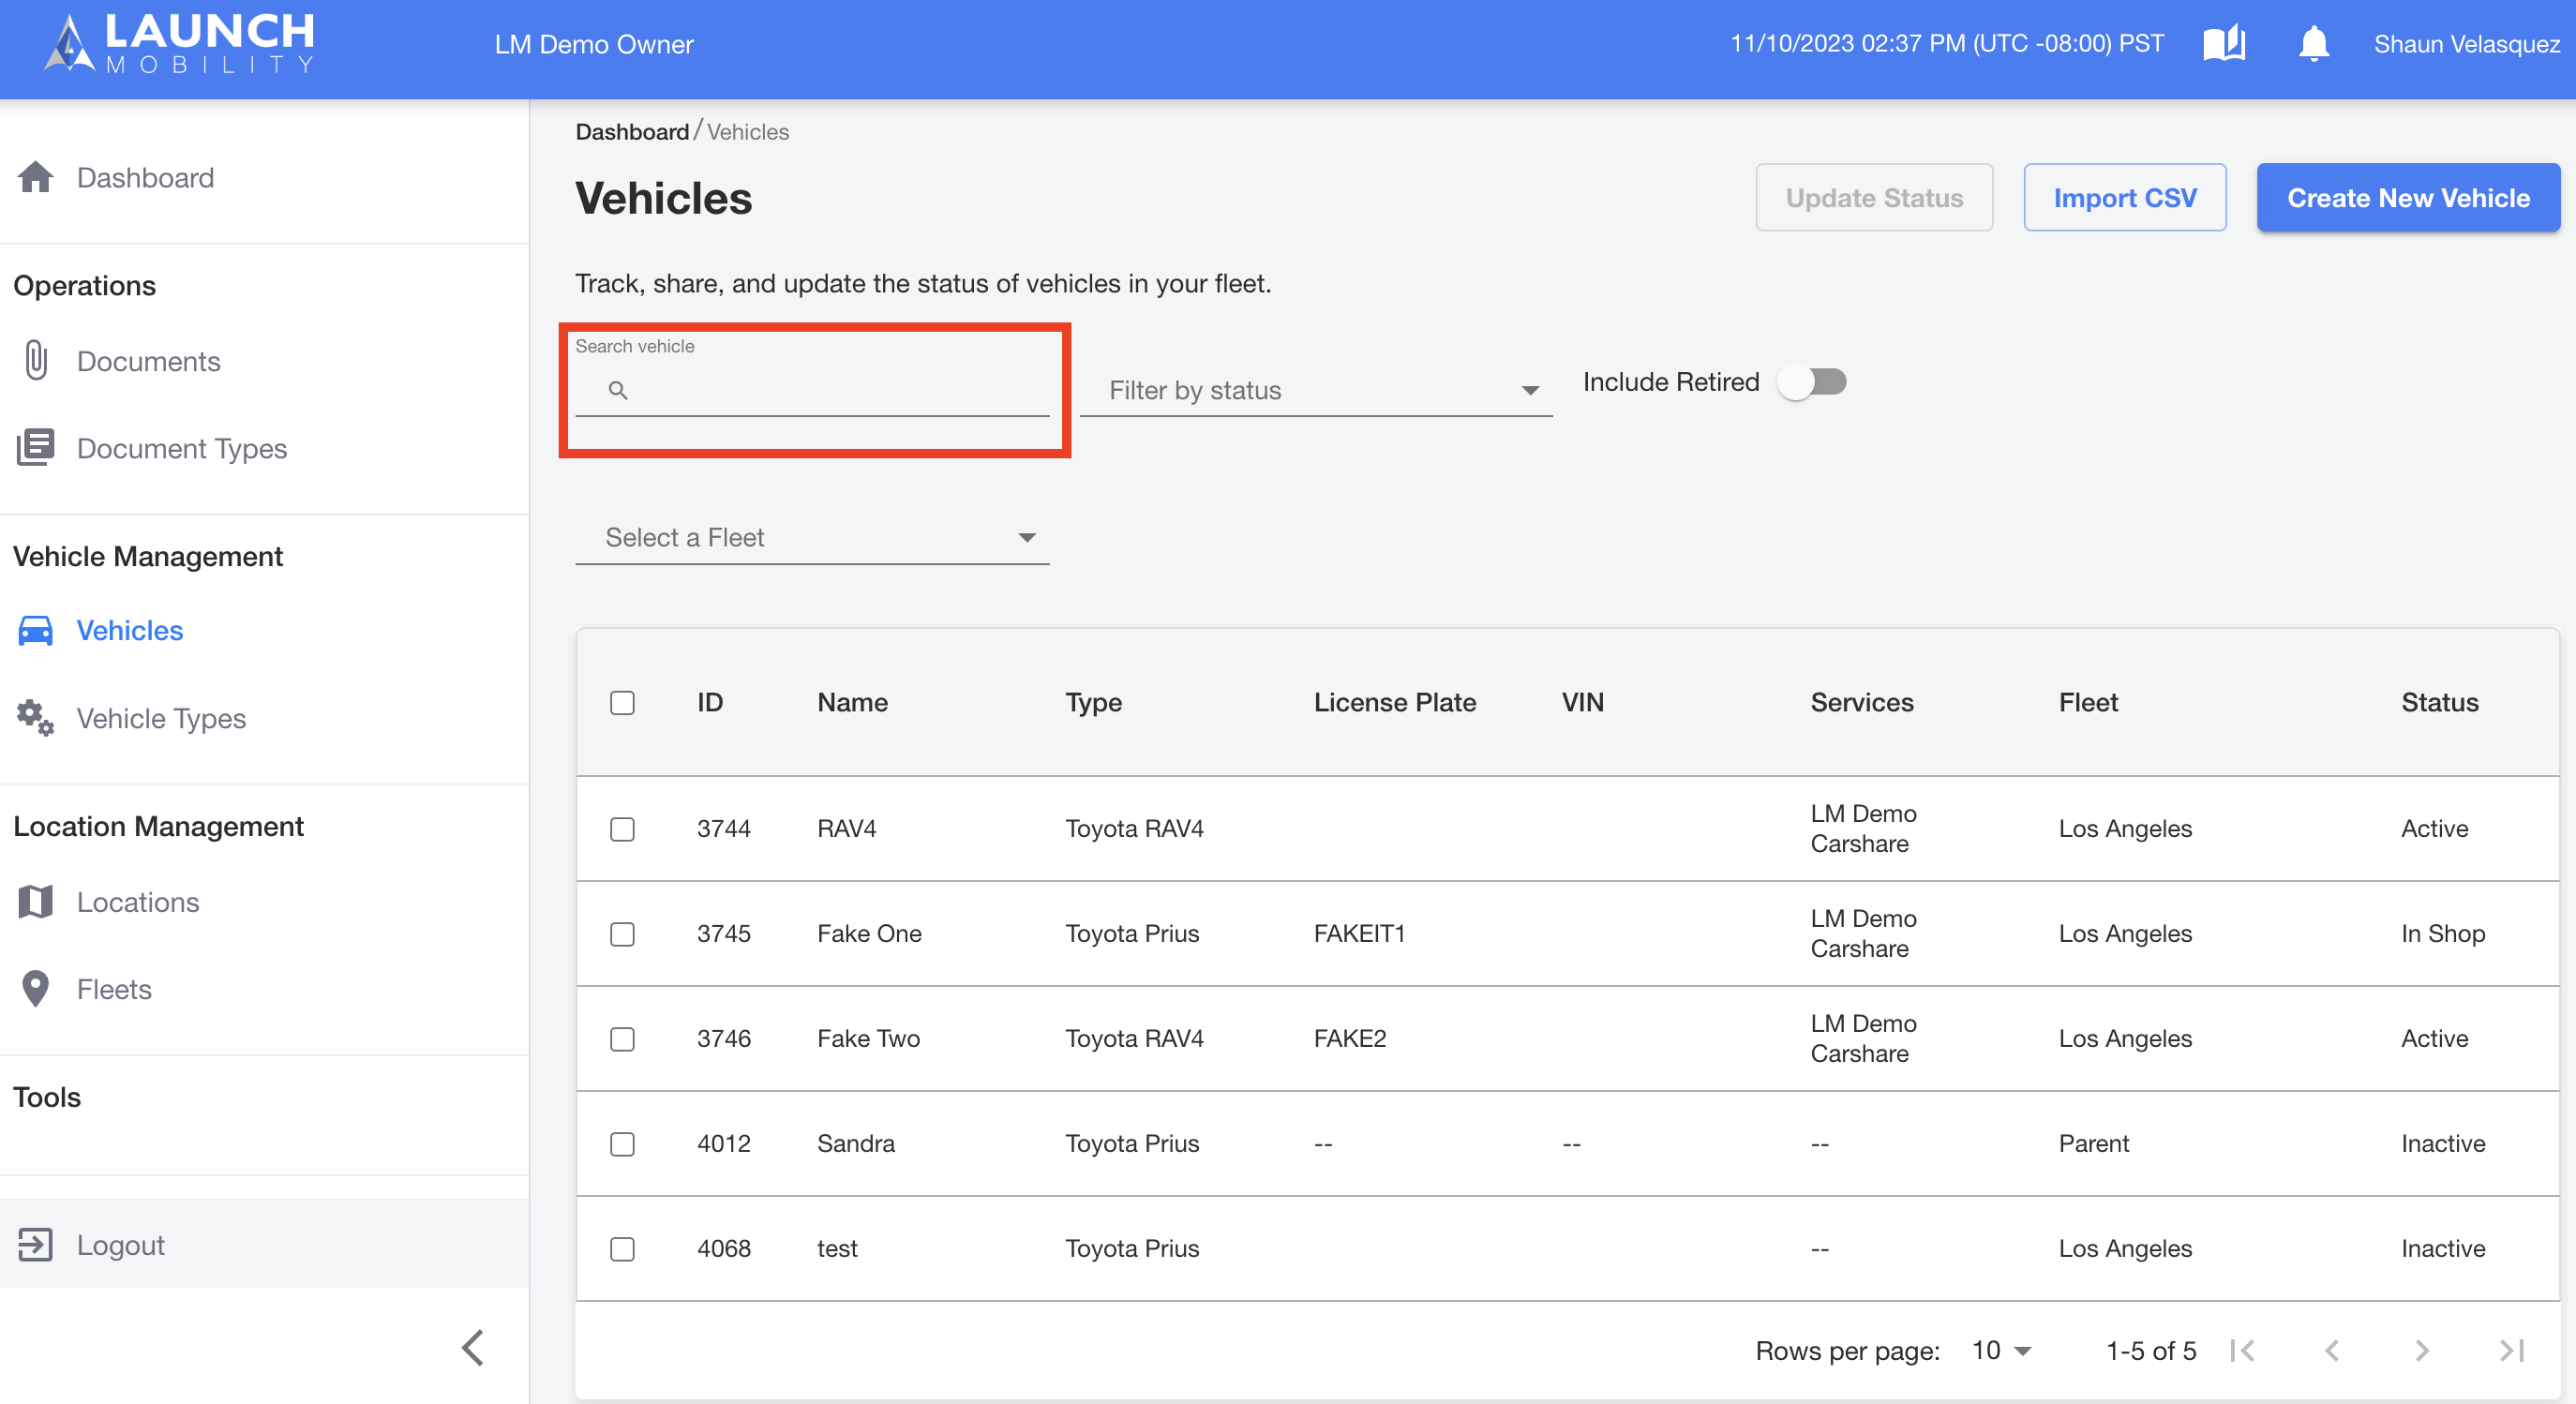
- In Owner view, select the Vehicles from the navigation menu.

- Search for the vehicle by name, ID, license plate, or VIN number.
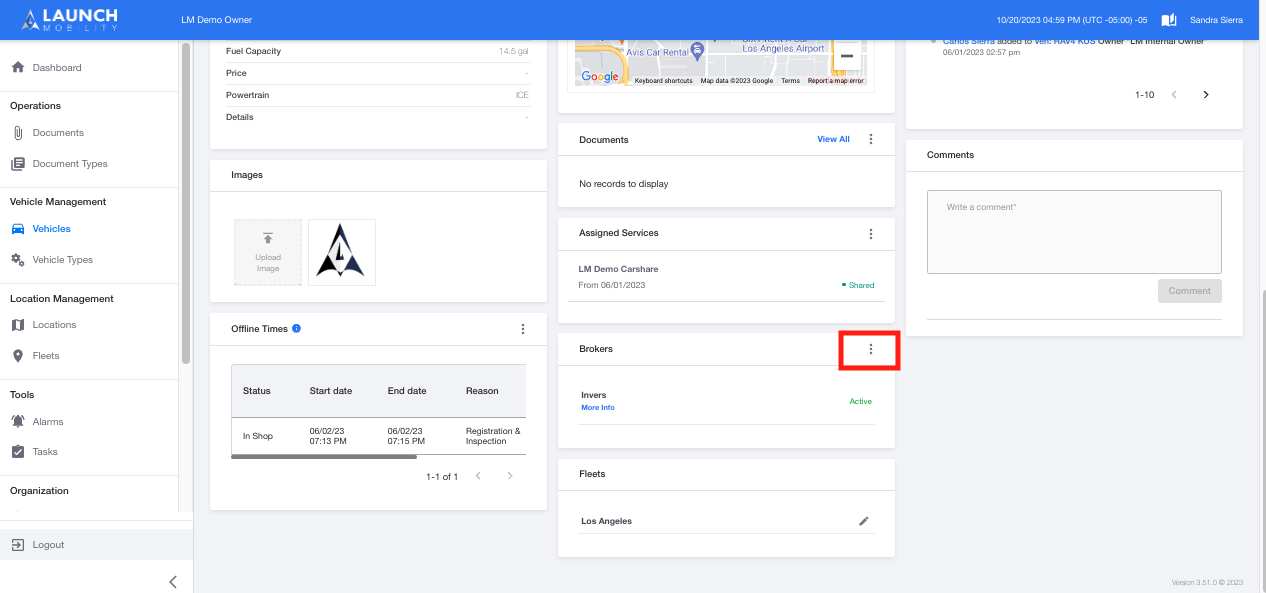
- On the vehicle's profile page, find the Brokers section and select the three dots in order to edit the broker information.
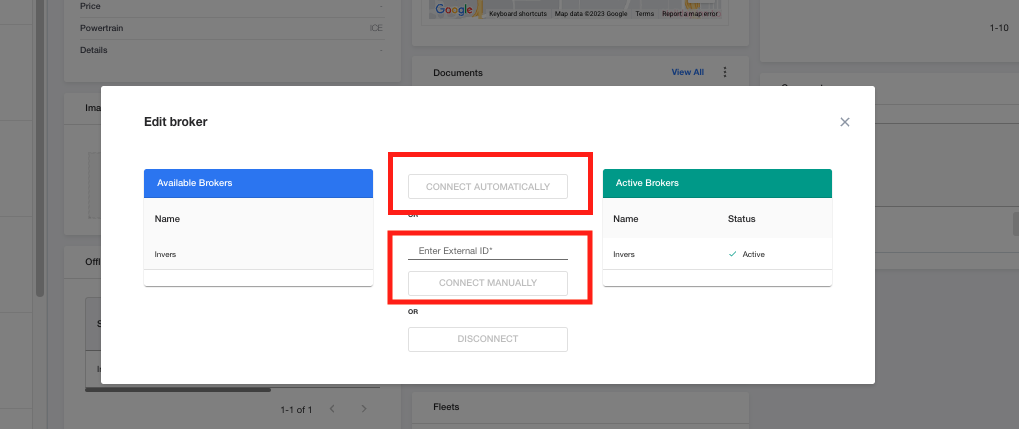
- Next you will select a telematics broker (ex: Invers or Geotab) for your vehicle. First, you'll need to highlight your choice in the Available Brokers box. At this point you'll have to option to either connect your vehicle automatically or manually.
- If you are going to connect automatically you'll need to make sure that the vehicle's VIN and license plate numbers are both accurately entered in your telematics provider's portal and in Mission Control. Select the Connect Automatically button.
- To create the connection manually simply enter the hardware's ID number. Select the Connect Manually button.
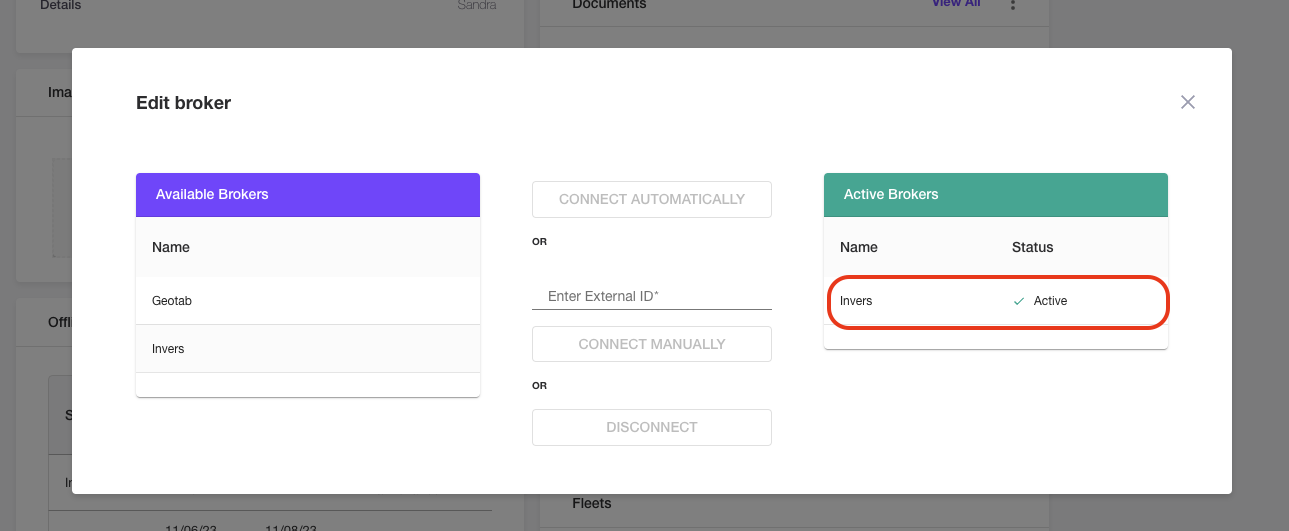
- Once this has been completed, your choice will appear in the Active Brokers box.