-1.png?width=200&height=51&name=LM_NuBlu_Horiz_Hi%20(1)-1.png)
Creating a location is an essential first step in setting up your service.
What is a Location?
A location represents a physical address, like a main office or a parking garage. It acts as the "home base" for one or more of your Service Groups.
By assigning a Service Group to a location, you are telling the system that all vehicles within that group operate from that specific address.
Who Can Create Locations?
Please note that only users with Owner-level permissions can create and edit locations. This option will not be available to users at the Service level.
Instructions
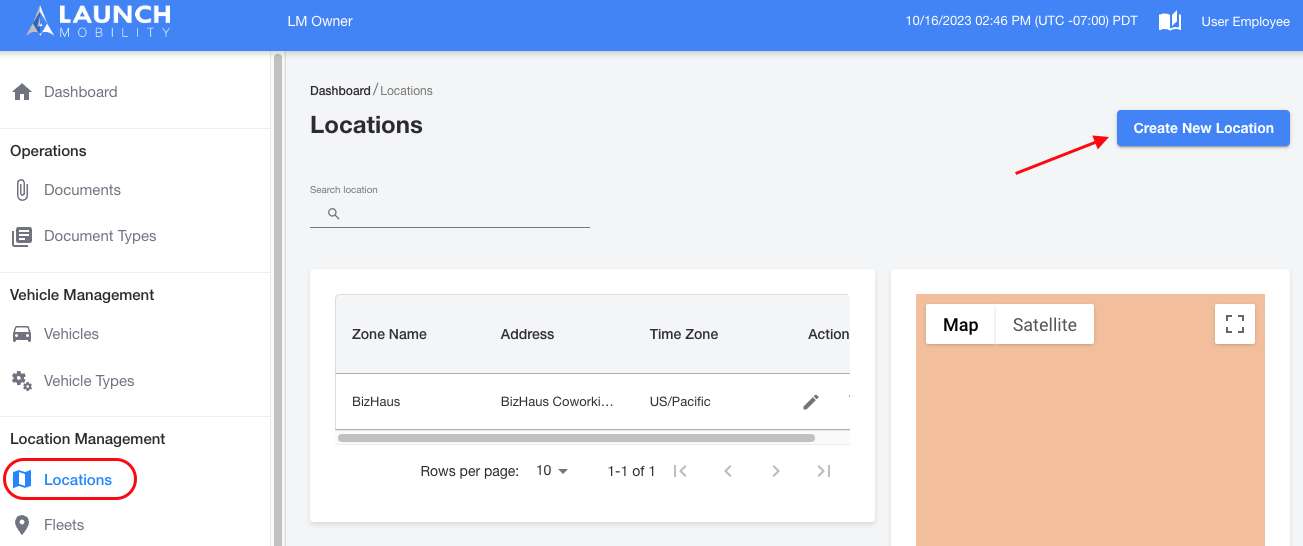
1. In Owner View, select Locations in the navigation menu, select Create New Location.
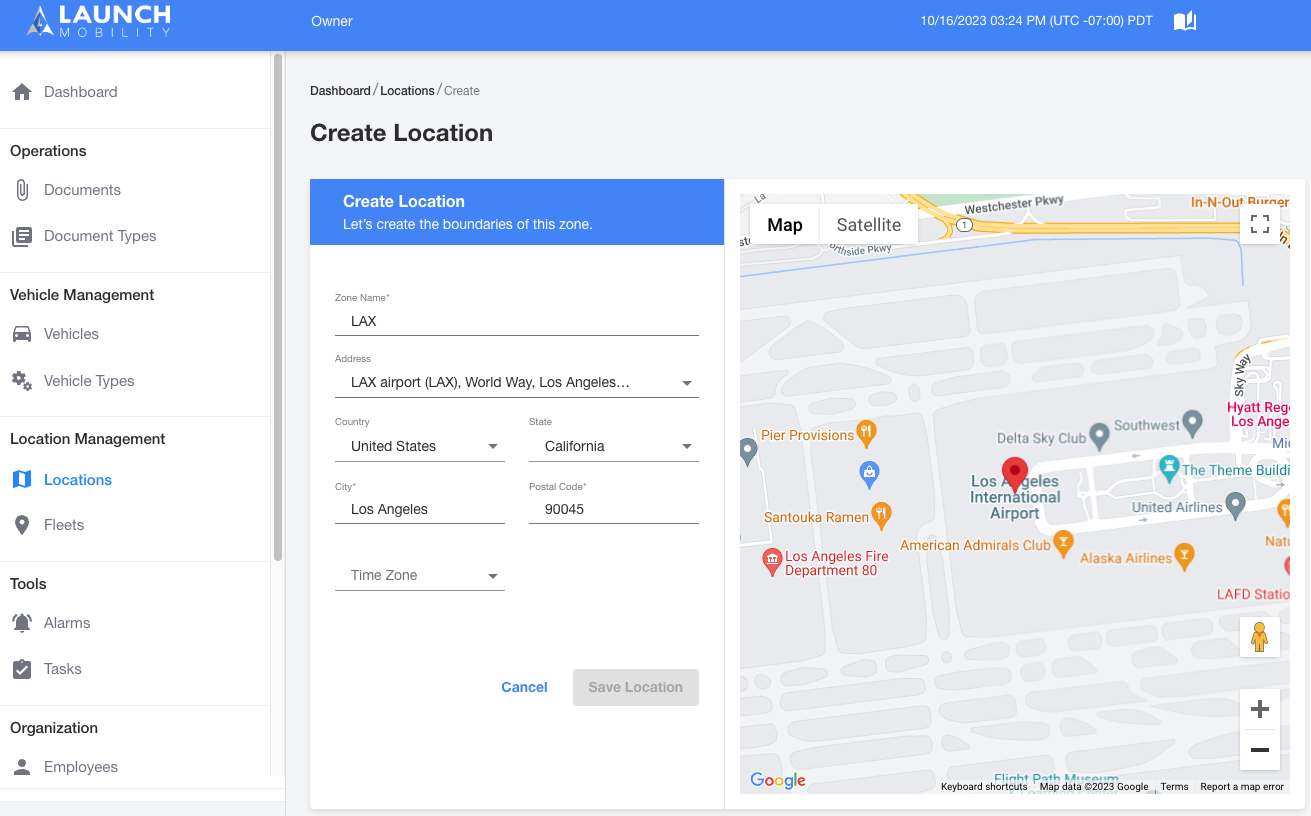
2. Enter a Zone Name for the location and enter the address details, then select a time zone.
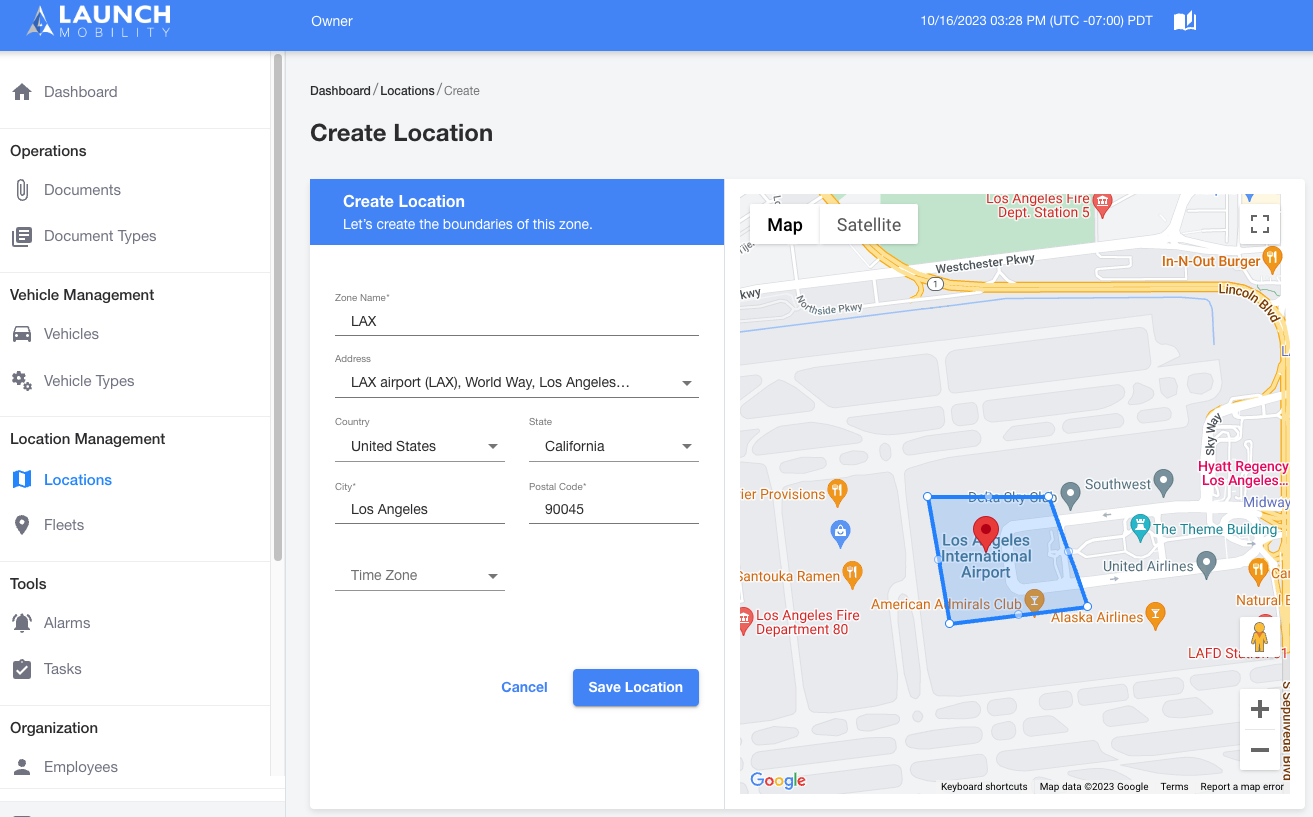
3. Click on the map area to Draw the boundary of the new location. You can edit the shape by grabbing and dragging the white points on the perimeter of your polygon.
NOTE: Your location's geofence has an alarm called "Unbooked Vehicle Away from Lot." This automatically notifies you if a vehicle without a reservation moves outside the lot's boundary.
To prevent false alarms from minor GPS inaccuracies, the system already includes a built-in 100-meter buffer around your geofence.
However, if your lot is near tall buildings or in a parking garage where GPS signal drift can occur, you might consider drawing your geofence slightly larger than the physical boundaries of the lot. This provides an extra cushion to ensure you only receive necessary alerts.
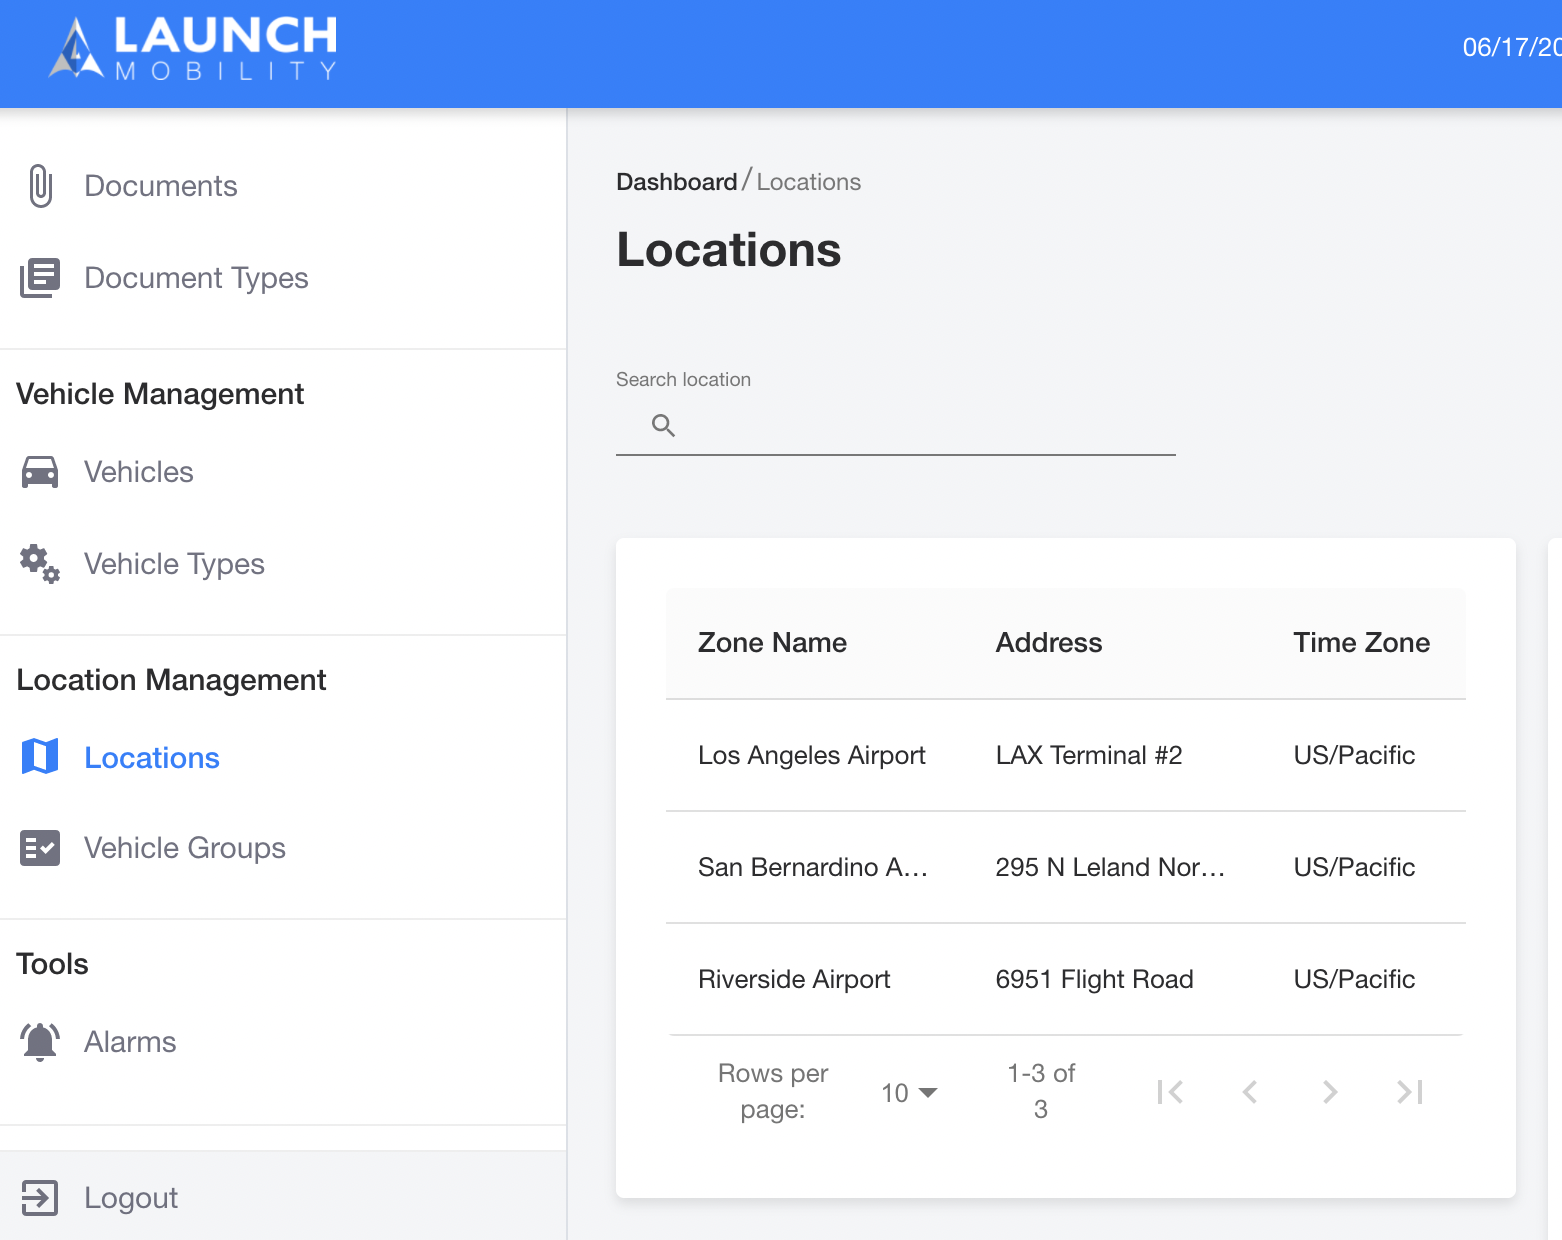
4. Select Save Location. Your new location is now in the system! You can navigate to Locations from the navigation menu to see the full list.
Location Created! What's Next?
You have successfully created a location, which acts as a physical "home base" in the system.
The immediate next step is to:
Create a Fleet. A fleet is a grouping of vehicles that must be assigned to at least one location upon creation. In later steps, you will create vehicles and organize them into Service Groups that are linked to this location.