-1.png?width=200&height=51&name=LM_NuBlu_Horiz_Hi%20(1)-1.png)
How to Switch a Vehicle to a Different Fleet
Overview:
Based on utilization numbers, you may occasionally find it necessary to divert resources to where they are needed most. In this article, we will review the process for switching a vehicle from one fleet to another in Mission Control. Usually, this can be accomplished by switching a vehicle's Service Group. However, in this scenario, we need to pull a vehicle from a different fleet.
Vehicle 3745 currently resides in the Los Angeles fleet but needs to be moved to the Las Vegas fleet to help meet demand. Let's take a look at how we get this done in Mission Control.
Step-by-Step Instructions:
Remove the Vehicle from Any Services
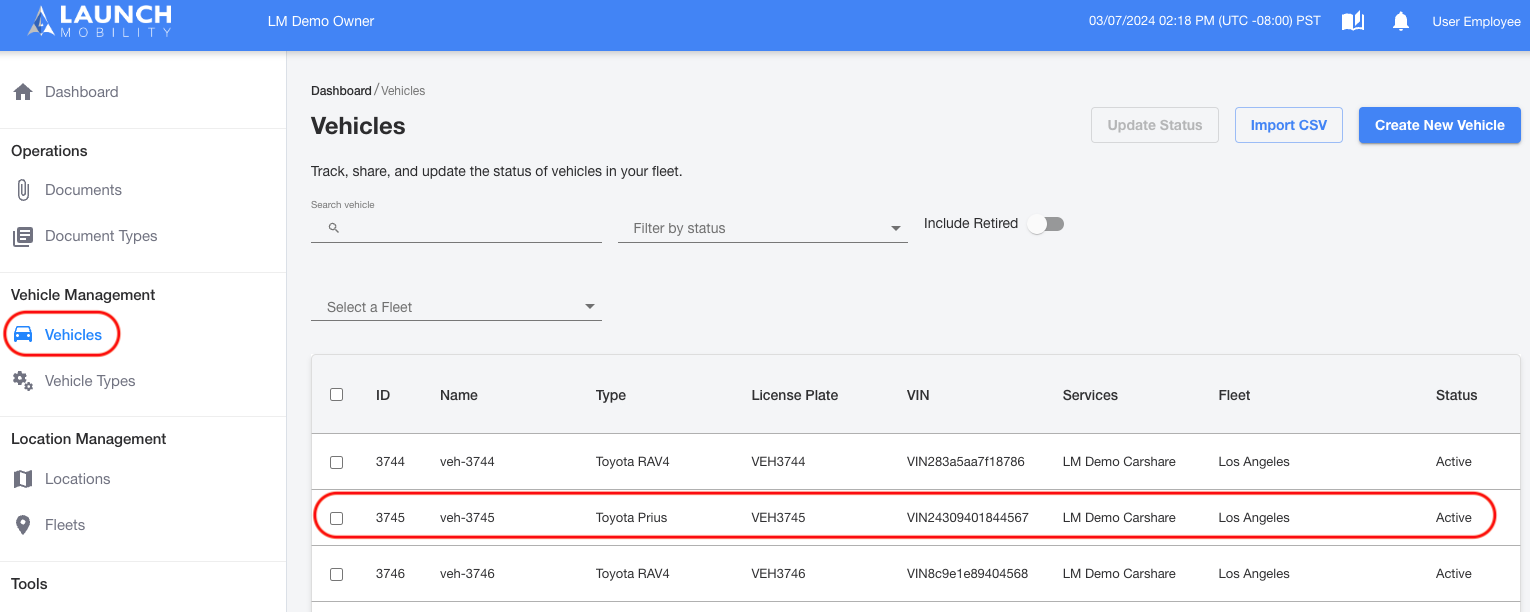
In order to switch a vehicle's fleet it cannot be actively assigned to any services. In Owner View, navigate to Vehicles and select your vehicle from the list in order to open up its Details page.
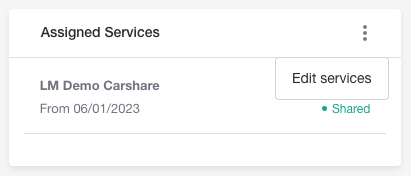
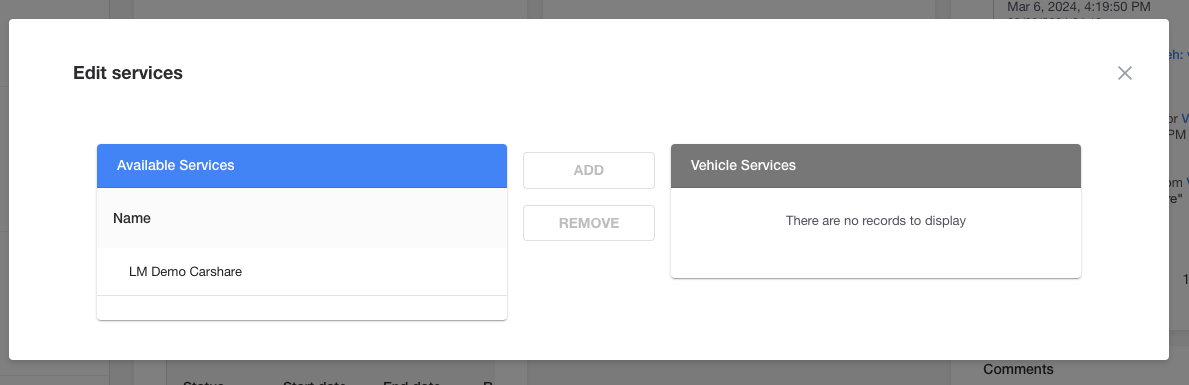
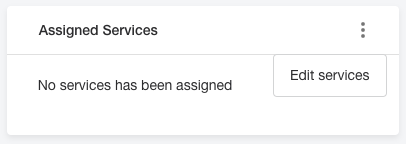
On the Vehicle Details page find the Assigned Services section and click the hamburger (3 dots), then select Edit Services.
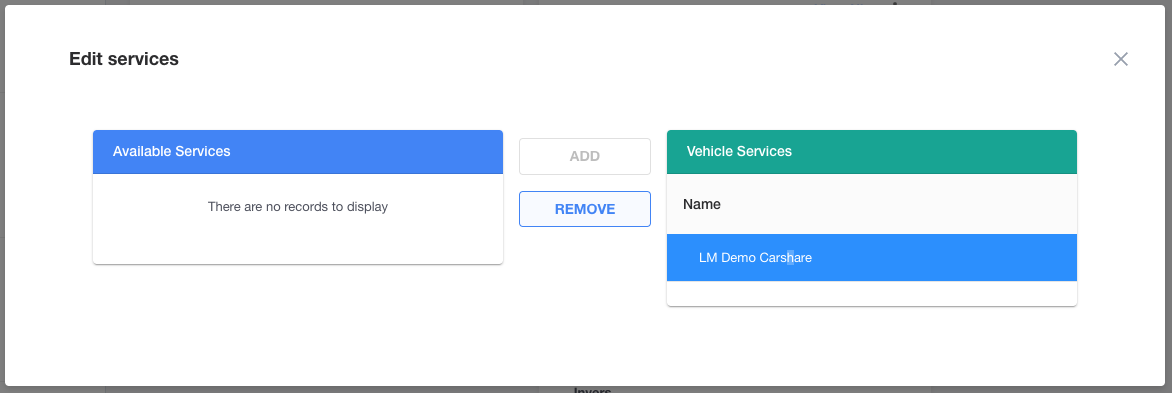
Select the service it's currently shared with to highlight it. Once highlighted the Add and Remove buttons will become selectable. Choose Remove. A pop up window will appear asking you to confirm your choice, please read it for important details.
Note: If the vehicle you select has an upcoming reservation, it won't be removed from the service until after the reservation has been completed. If you need to immediately remove it from the service, you will need to go to the reservation's details page in order to switch to another vehicle.
After confirming your choice, the name of your service will move to the Available Services box.
Switch the Vehicle's Fleet
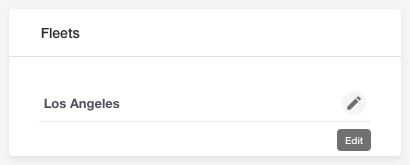
Now that the vehicle isn't associated with any services you will be allowed to switch its fleet. On the Vehicle Details page, locate the Fleets section and select the Edit button.
Select your desired fleet from the drop down.

Add the Vehicle to a Service
The vehicle can now be assigned back to your service. In order to do this find the Assigned Services section on the Vehicle Profile page and click the hamburger (3 dots), then select Edit Services.
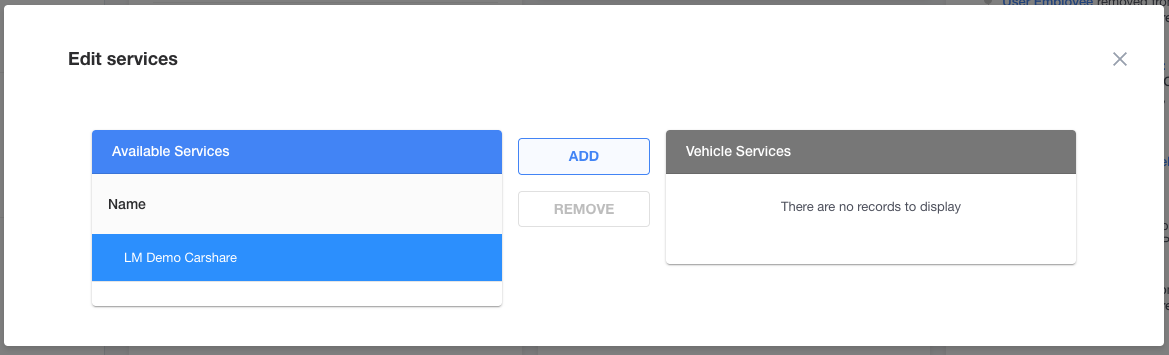
Select the service from the list in order to highlight it, once highlighted the Add and Remove will become selectable. Select Add and your service will move over to the Vehicle Services box.
Add the Vehicle to a Service Group
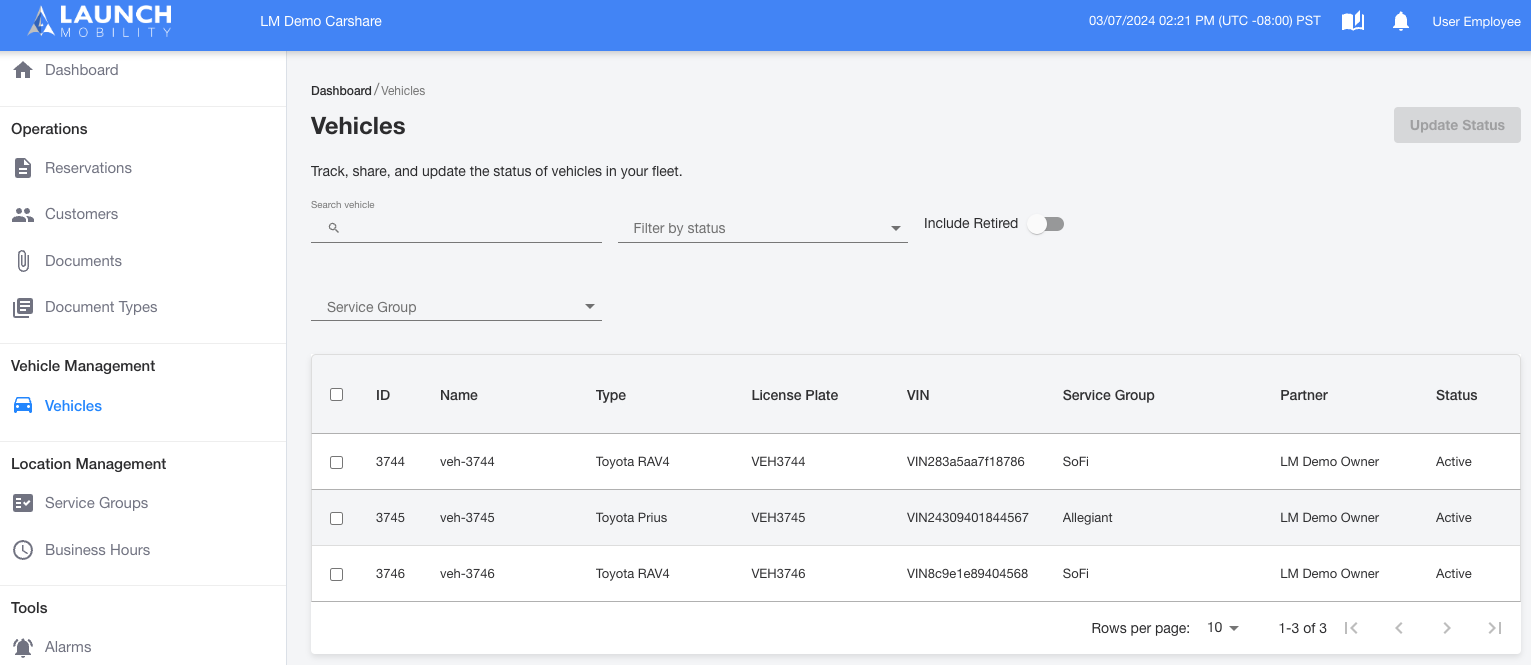
The will now appear in the Vehicles section in Service View but it won't belong to any Service Groups by default, you will need to assign it to one. You will notice on the vehicle list that it will belong to an "Unassigned" Service Group.
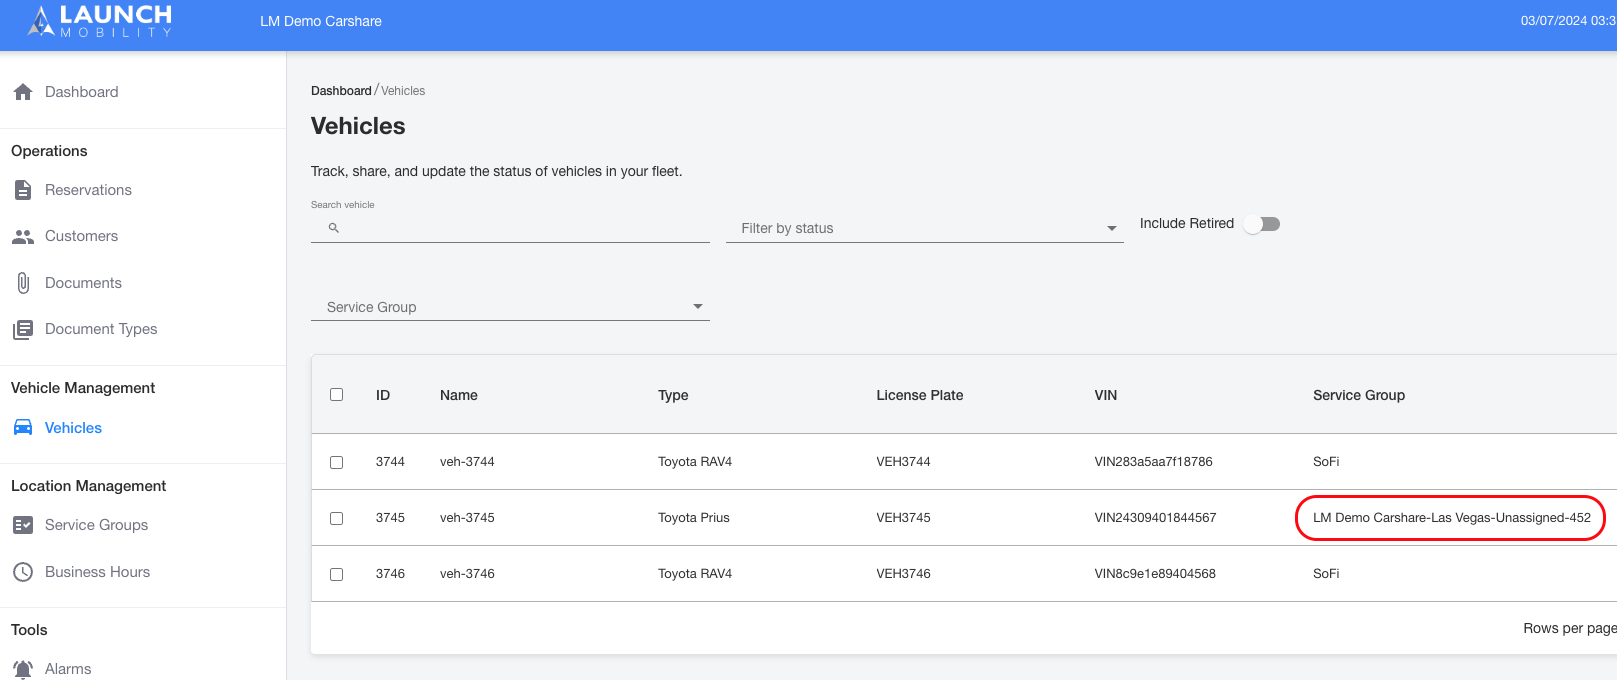
Select your vehicle to open the Vehicle Details page. On this page locate the Service Groups section and click the edit icon.

Note: Below the Service Group you will see the name of the fleet the vehicle belongs to. In this example it's Las Vegas.
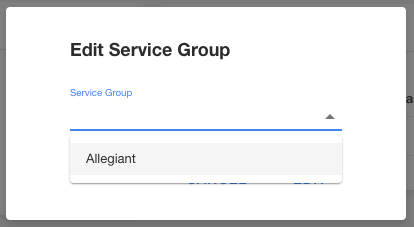
Choose the Service Group you want to add your vehicle to from the down down list and select Edit.
Vehicle 3745 now appears on the list and is associated with a new fleet and Service Group!