-1.png?width=200&height=51&name=LM_NuBlu_Horiz_Hi%20(1)-1.png)
Launch Mobility App Guide
This is a guide that outlines the basic functionality of the Launch Mobility app (Ascend).
App Entry
Note: Your admin will send you an invite that will initiate this process. You will receive an email where you will set up a password. Once your password has been created you can begin.
- Download the Launch Mobility app from the Play Store/App Store
- Enter your email address
- Click the Next Button
- Your service will appear in the Network drop down
- Enter your password
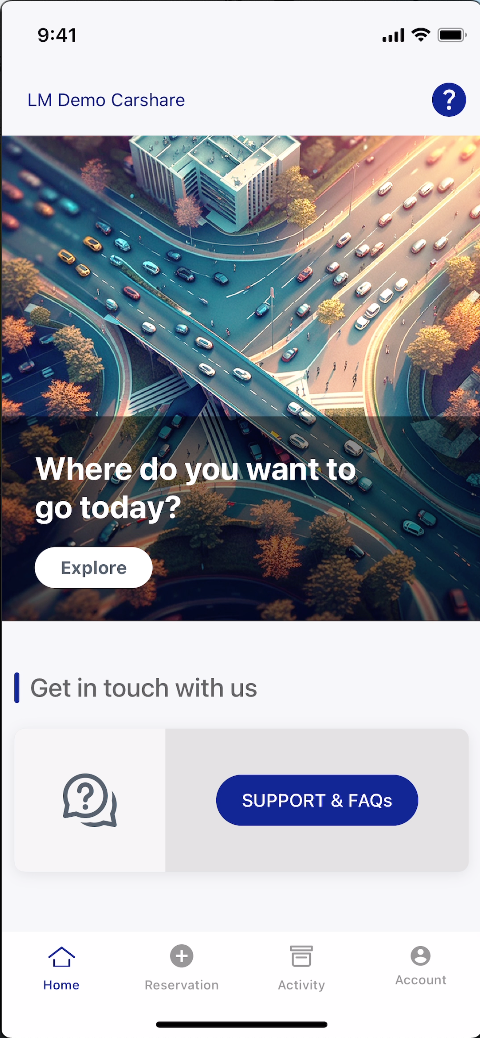
Home Screen
Here is the home screen for the app. The main navigation bar runs across the bottom of the screen.
It consists of:
- Home - Return to the home screen
- Reservation - Start reservation creation flow
- Reservations can also be created by selecting the Explore call to action button in the middle of the screen
- Activity - You will see a list of past/present/future reservations
- Account - Edit/view account details, access Help section, log out
Contact Us
If you should have any questions or need help, you can access the Contact Us page by selecting the ? icon in the upper right-hand corner or by scrolling down to the Get in Touch with us section and selecting the Support & FAQs button.
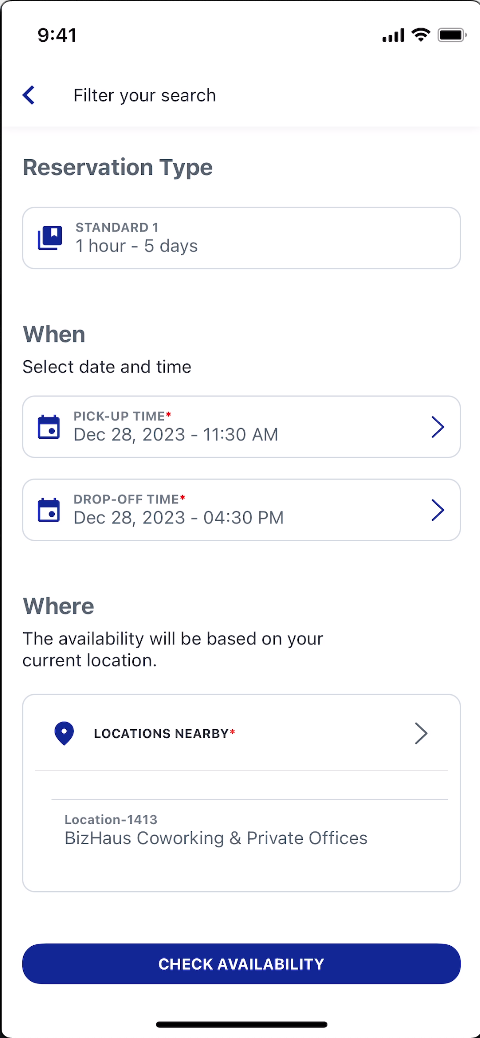
Reservation Creation
- Select the Explore button on the home screen
- On the Filter Your Search screen you will select a reservation type, a pick-up time and date and drop-off time and date
- Once a time and date have been chosen, choose where to pick up and drop off your vehicle by selecting Locations Nearby
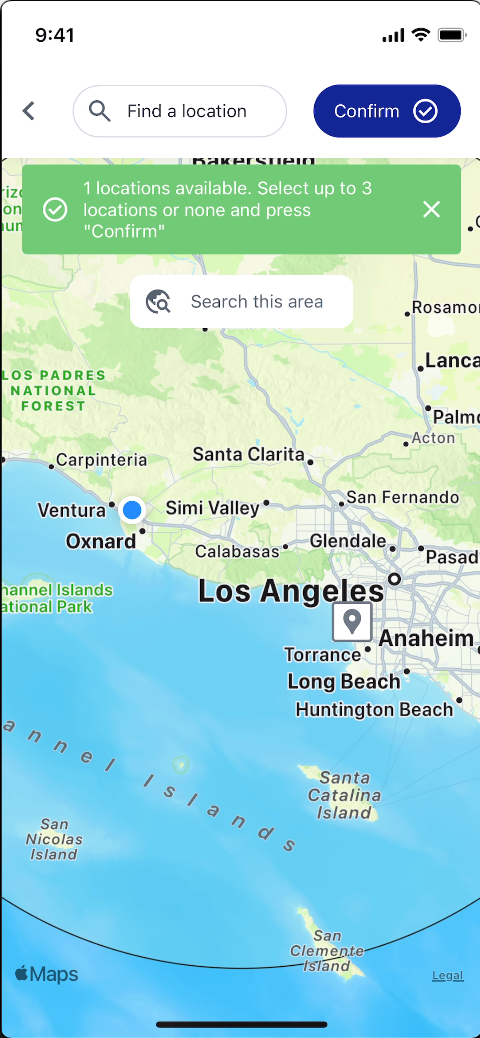
- A map will appear that lists all locations in your area
Note: If there are no available locations in your area, you can search by entering a city or zip code in the search box
- You can select all available locations by clicking the Confirm button in the upper right corner
- If you decide to manually select locations on the map, you will click the Confirm button once you are done
- Now that your location(s) have been selected, you will return to the Filter Your Search screen where you will see your time and dates along with the location(s) selected
- In order to view all of the vehicles that meet your search criteria, select Check Availability

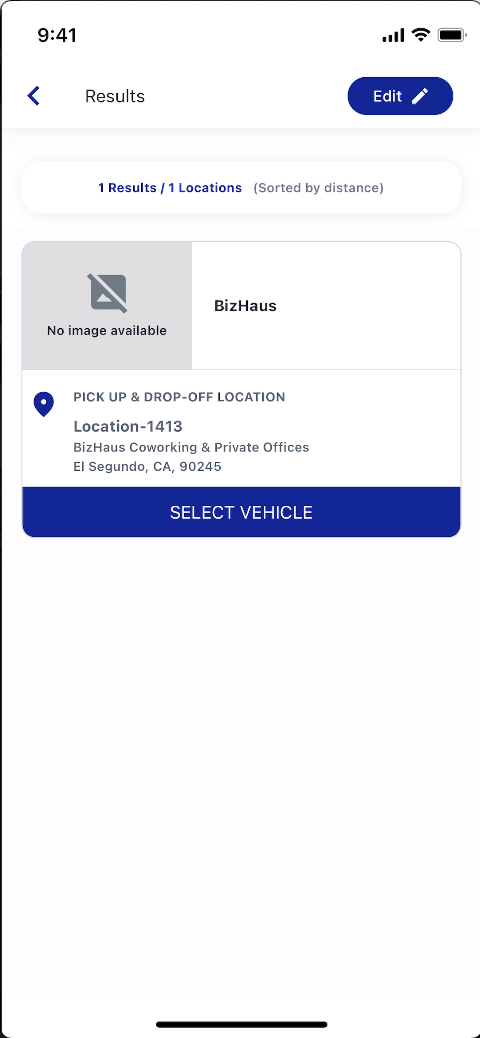
- On the Results screen, you will see a list of Service Groups along with their respective locations
Note: You can make adjustments to your search criteria by selecting the Edit button on the upper right hand side of the screen
Note: Service Groups (and not vehicles) are listed here to ensure proper utilization of your fleet. The system will prevent the same vehicles from being used when there are alternative options. A specific vehicle will be assigned to the reservation at a later time. Don't worry, this time is configurable and can be set in your Reservation Rulesets by the Launch Mobility team.
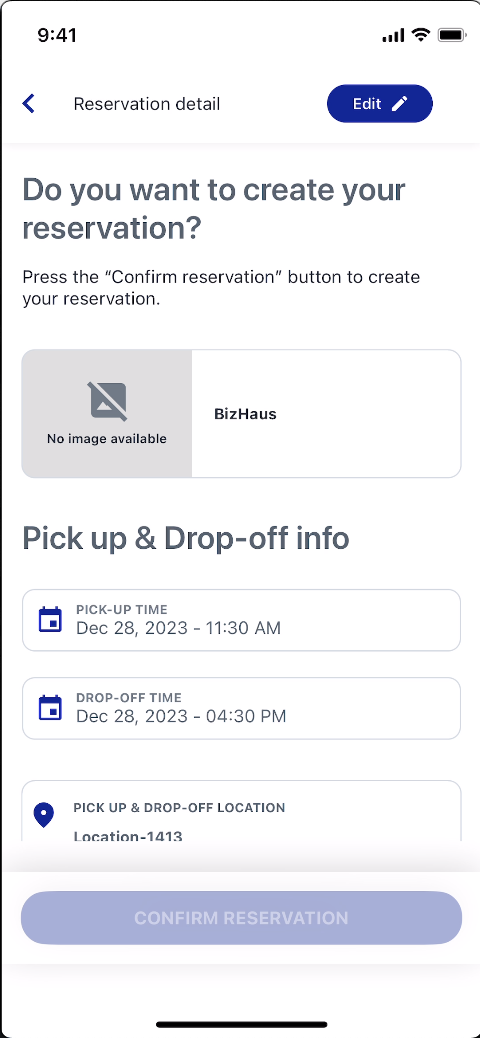
- Once you’ve selected a vehicle, you will see the Reservation Detail page with all of the reservation details listed
- Scroll down and check the box regarding the terms of service and privacy policy. This is required in order to confirm the reservation.
- If everything looks good, confirm the reservation at the bottom of the screen
Reservation Check In
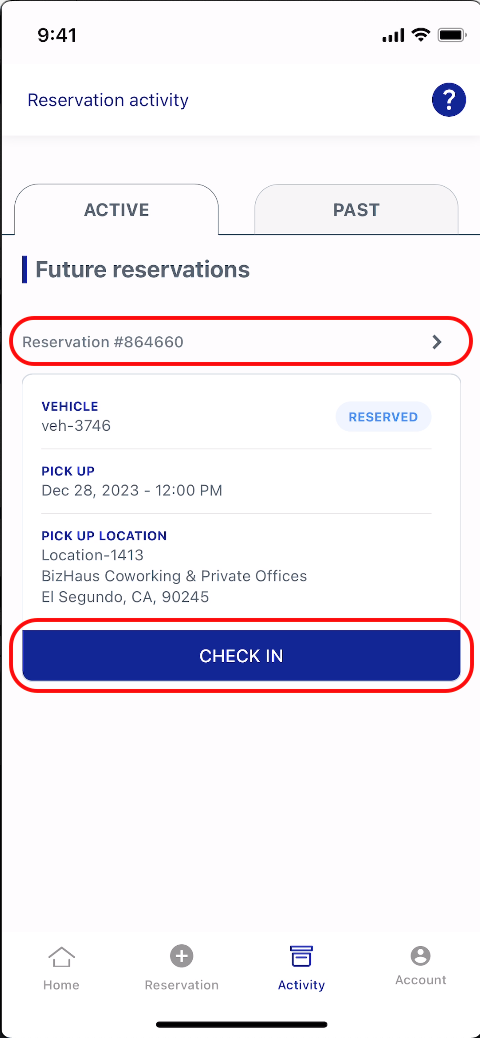
- Congratulations your reservation is now confirmed!
- You will now be sent to the Reservation Activity screen and the reservation you created will be listed in the Active tab.
- In order to check in to your reservation you can either select the reservation number above the reservation details or select Check In
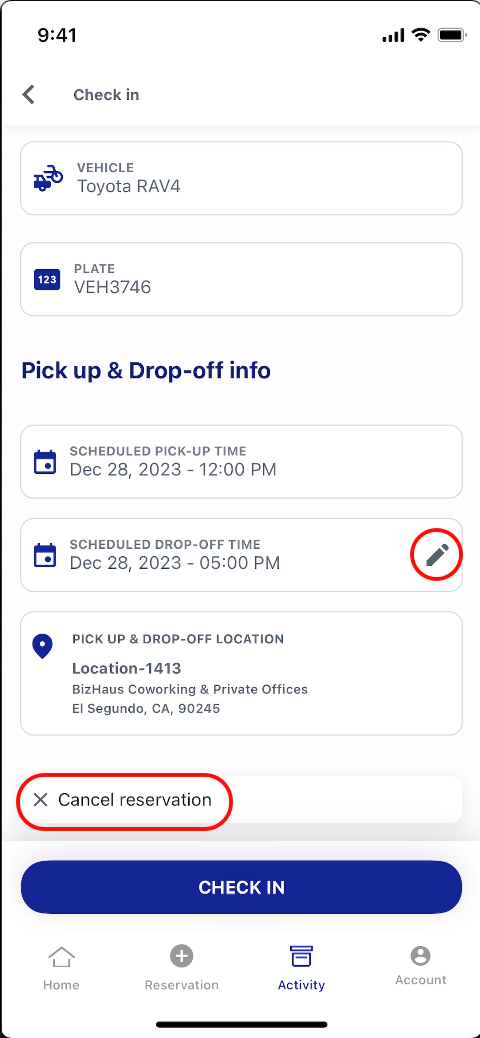
- On the Check In screen you will be presented with all of the reservation details, review these to make sure everything is correct
- You can edit the drop-off time or cancel your reservation on this screen, if necessary
- Once everything has been confirmed, select Check In
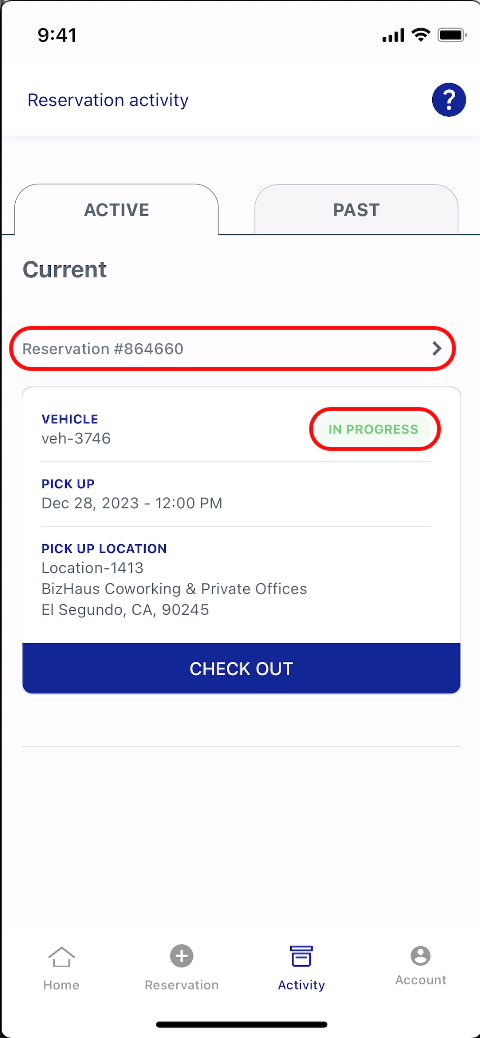
Ongoing Reservation
- You will be sent to the Reservation Activity screen and you will notice the status of the reservation has changed to In Progress
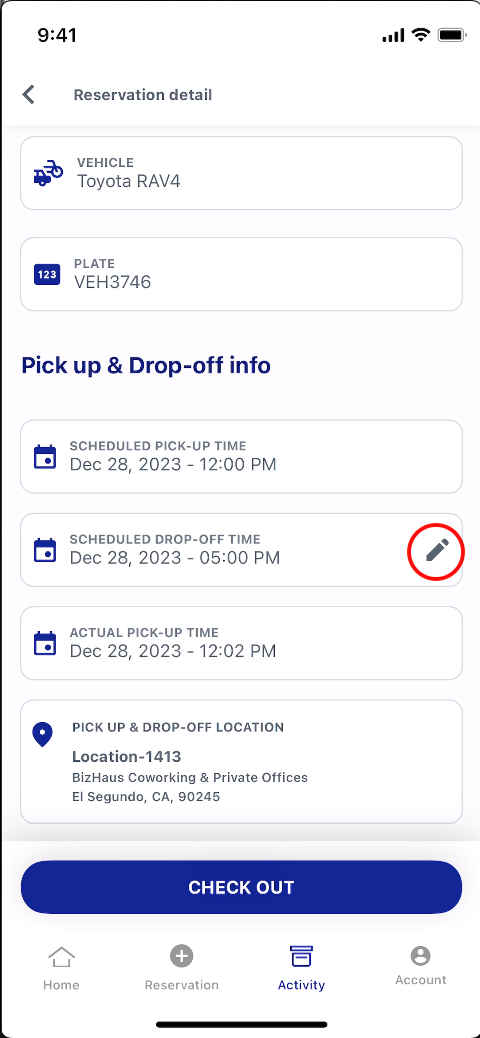
- In order to view your ongoing reservation's details, select the reservation number
- At this point, a virtual key has been created and the device is connected to the vehicle
- Features such as lock and unlock are now available on the device
- Congratulations, you’ve successfully created and checked in to an ongoing reservation!
- During an ongoing reservation, a driver will have the option to edit/extend their drop-off time (if no other conflicting reservations exist) in the Pick up & Drop-off Info section by selecting the edit icon
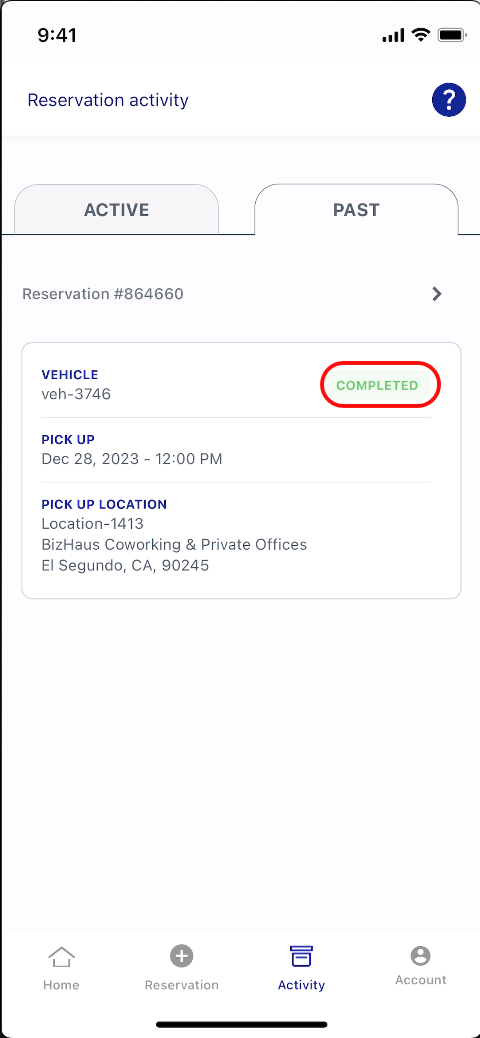
Reservation Check Out
- Once your drop off time has arrived, select the Check Out button in order to end the reservation
- Back on the Reservation Activity screen, your reservation will now appear in the Past tab with the status showing Completed