-1.png?width=200&height=51&name=LM_NuBlu_Horiz_Hi%20(1)-1.png)
This article explains how to set up tiered pricing on the platform. Tiered pricing is a great way to incentivize your customers. The price per service you are offering is within a particular price range and once you fill up one tier you move to the next. For example: Let’s say you have a fleet of vehicles for rent. Here you can set the pricing so you charge a customer one fixed price for the first X amount of hours and after that X amount of hours, the price changes to a different rate (hourly rate->daily rate). In this case, it will be “the more you drive, the more you save”.
InstructionsThis is a step-by-step guide on how to create tiered pricing.
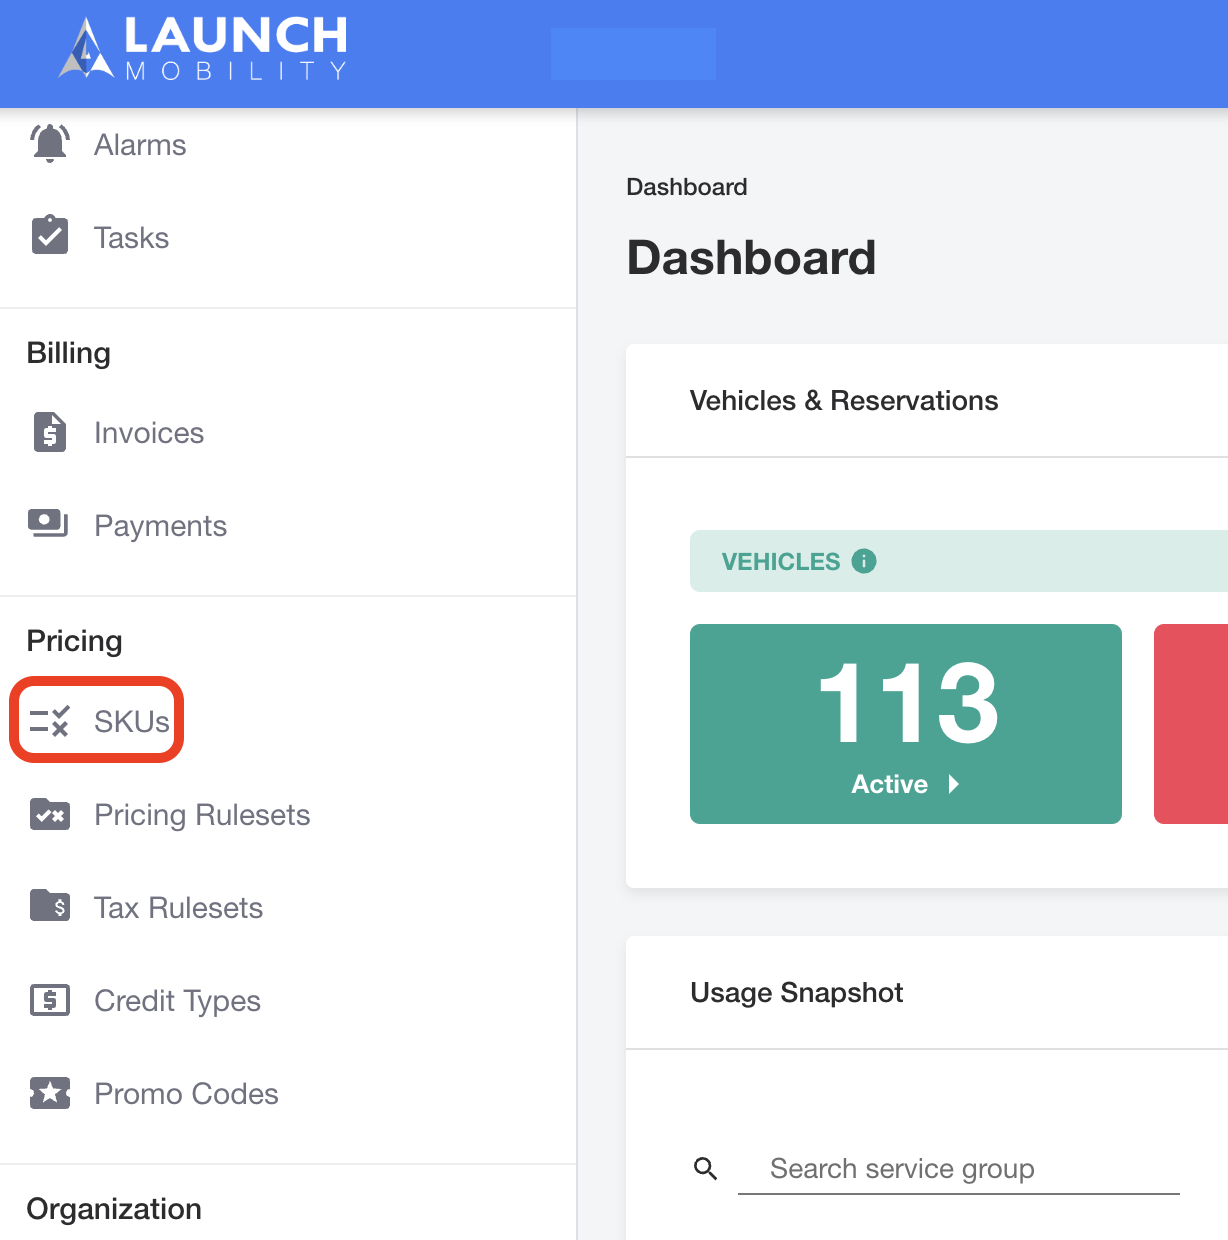
- First, SKUs need to be created. In Service view, scroll down the menu on the left until you get to the “Pricing” section, then select “SKUs”.
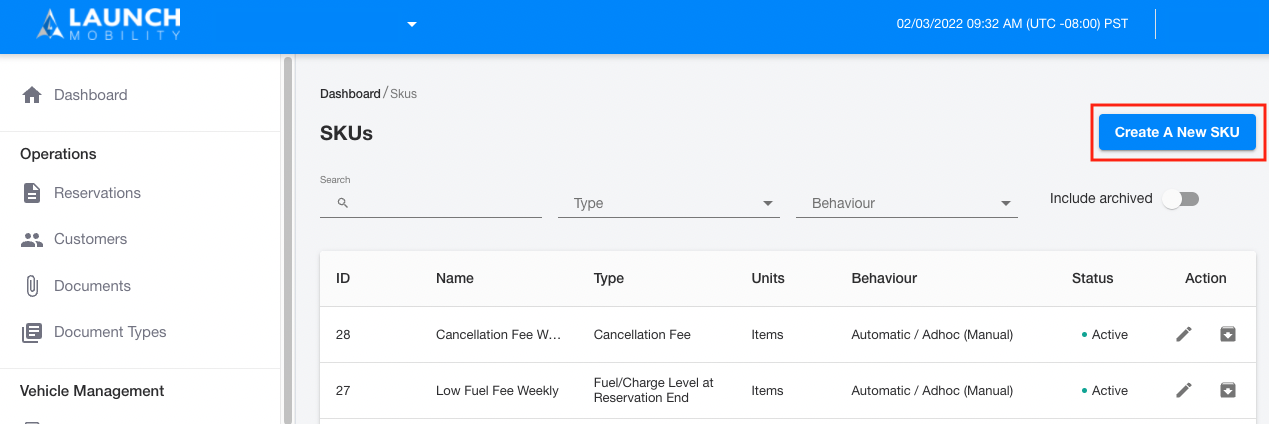
- Click the “Create A New SKU” button at the top right corner. For more information on how to create SKUs, see How to Add a SKU in Mission Control .
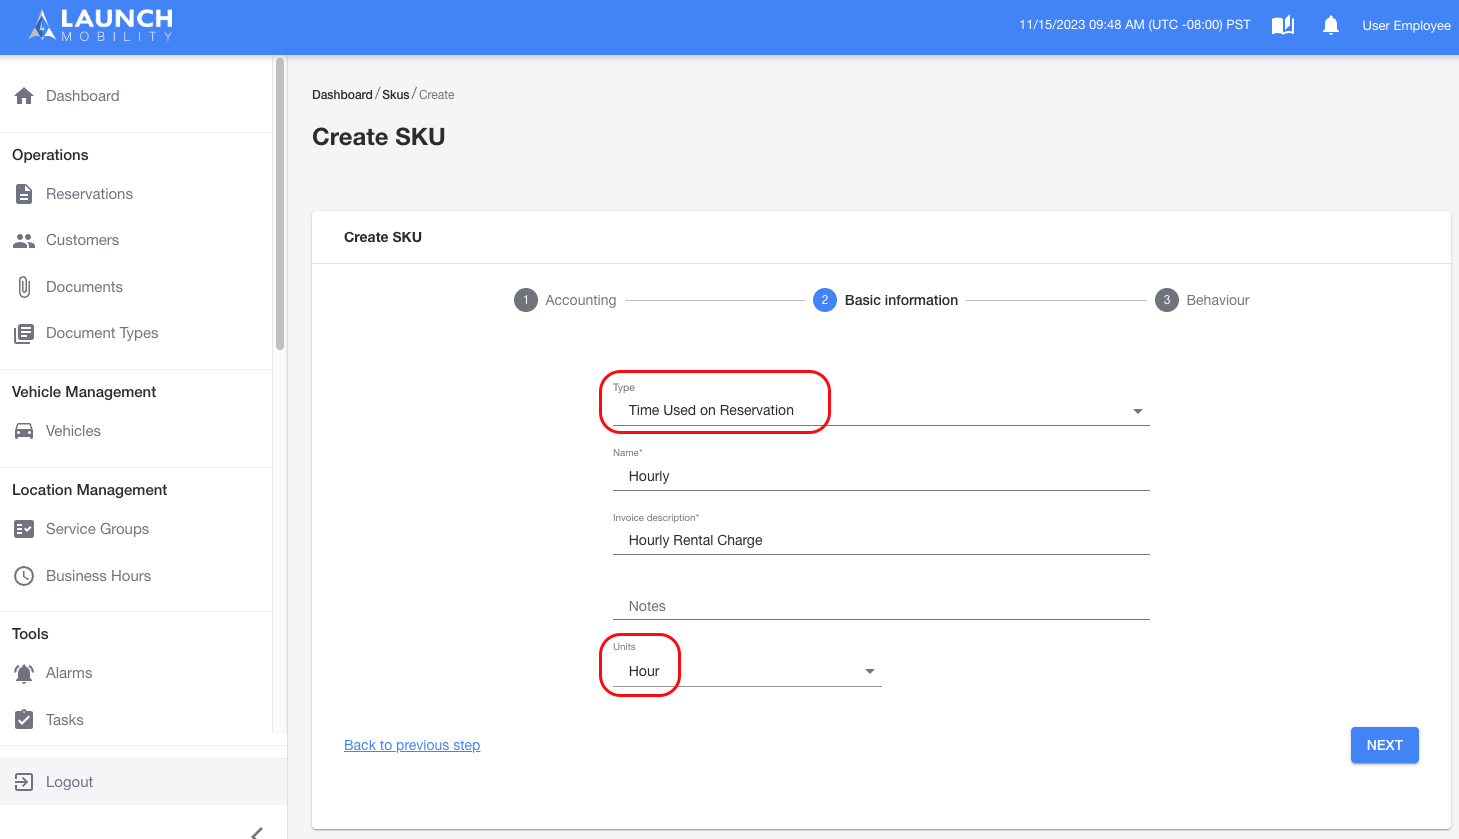
- Two revenue SKUs need to be created for tiered pricing. First, create an “hourly” SKU. Select SKU type as “Time Used on Reservation” and units as “Hour”. Make sure to automate the SKU when prompted during set up.
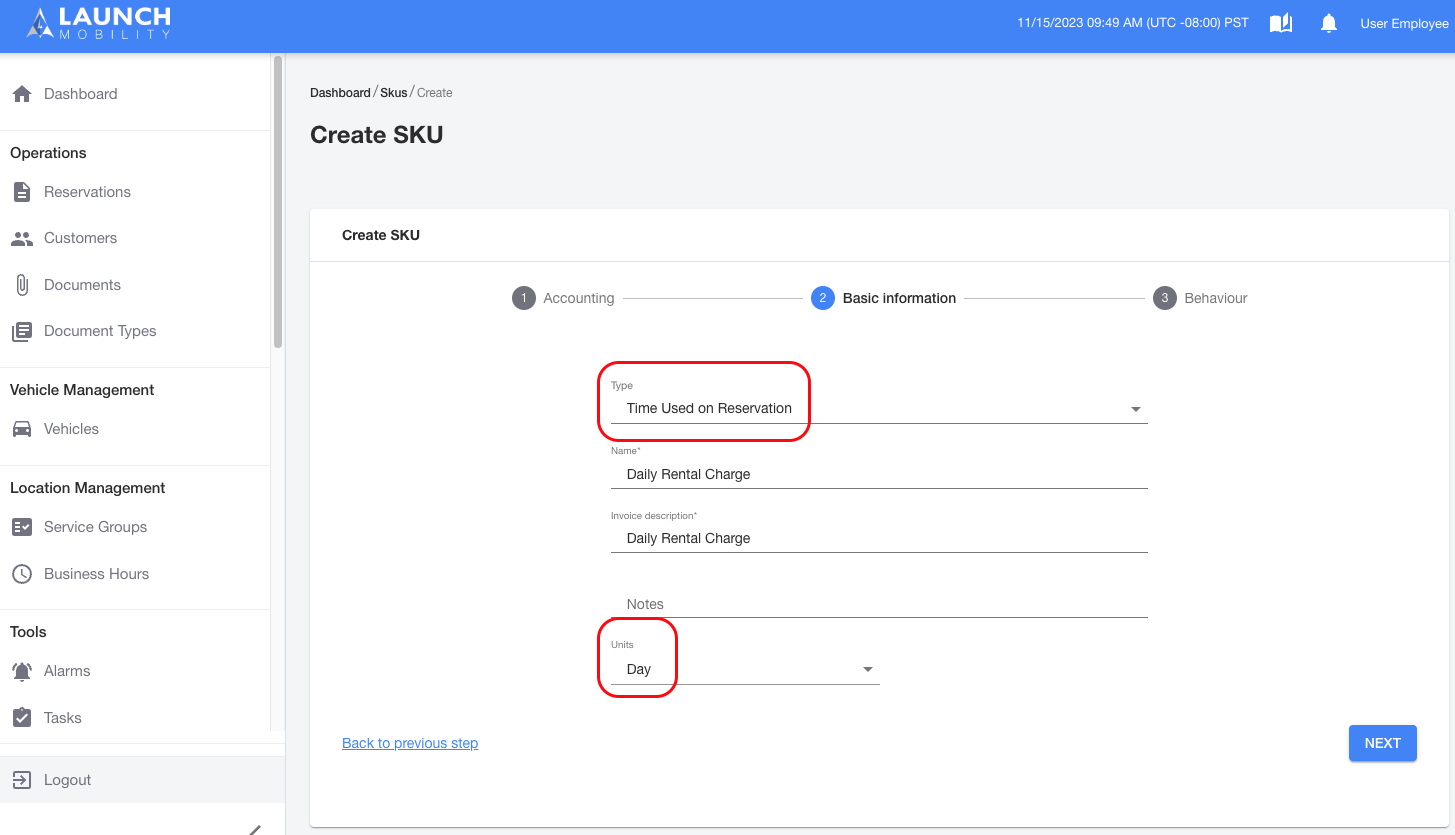
- Then create a “daily” SKU. Select SKU type as “Time Used on Reservation” and units as “Day”. Make sure to automate the SKU when prompted during set up.
- Then create a Pricing Ruleset for the two SKUs you just added (hourly & daily). Instructions on how to create Pricing Rulesets can be found here.

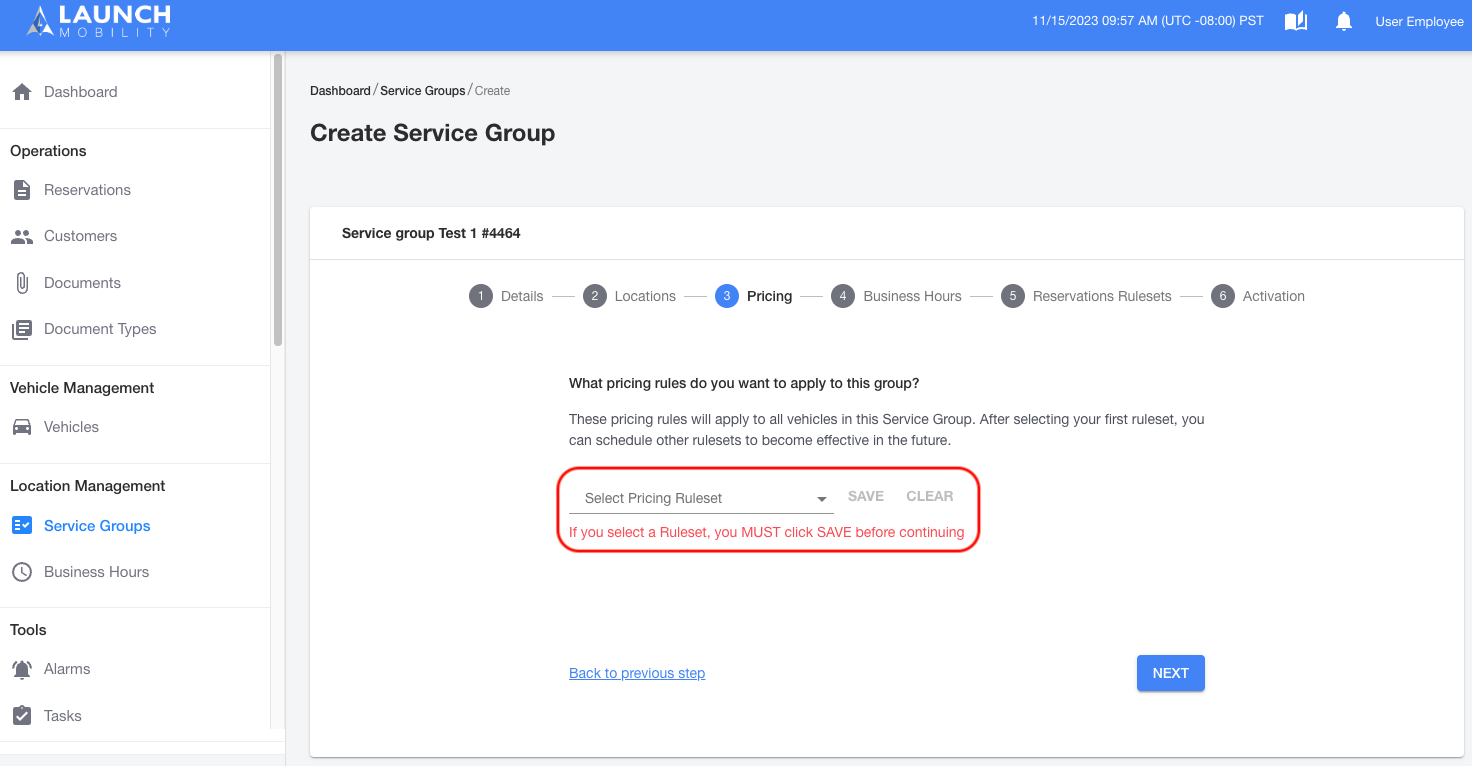
- Create a service group and select the new Pricing Ruleset from the drop down list. Instructions on how to create a Service Group can be found here.
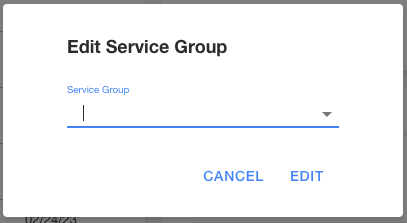
- In order to assign vehicles to your new service group find the "Service Groups" section on an individual vehicle's profile page. Select the edit icon to make updates.
Now the vehicles you have specified will have tiered pricing applied when they are rented!